Rendering a wall is the application of a protective and decorative coating, typically made from a sand and cement mix, to exterior or interior walls. It enhances durability, provides weather resistance, and transforms surfaces with a smooth or textured finish. Whether tackling a DIY project or planning home upgrades, wall rendering is a practical way to improve both appearance and strength.
Content
How to Render a Wall (Step-by-Step Guide)
Rendering a wall begins with choosing the right materials and preparing the surface thoroughly. This finishing method is often used on brick or concrete structures and serves both functional and decorative roles.
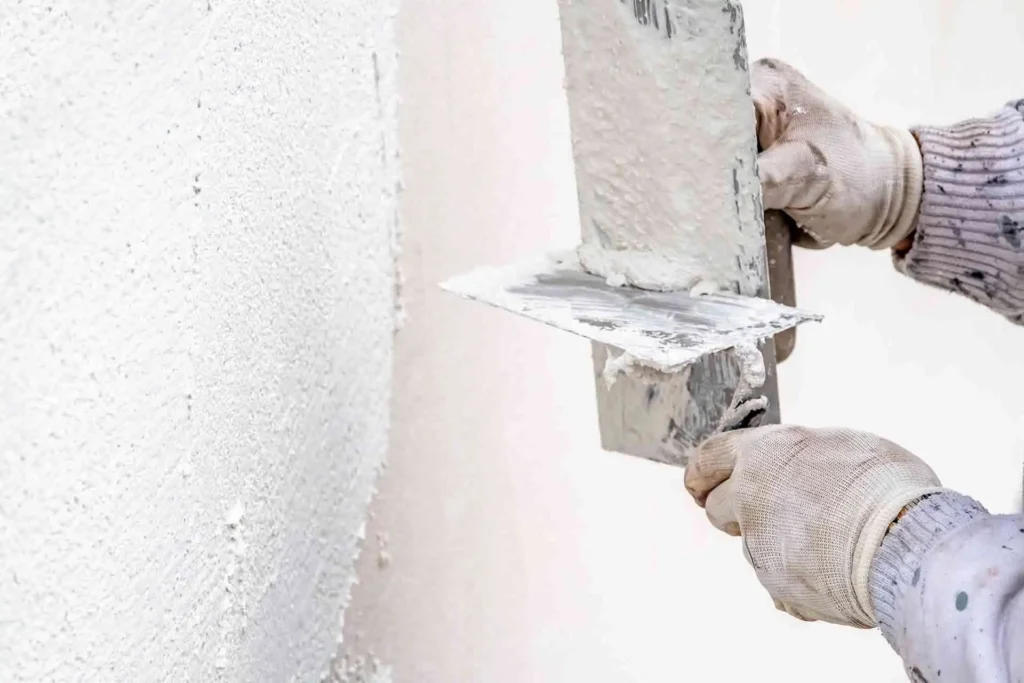
The key difference between plastering a wall and rendering a wall lies in their placement and strength. While plastering is typically used indoors, rendering is more suitable for outdoor surfaces exposed to the elements.
DIY rendering a wall has gained popularity due to accessible materials and clear tutorials. There are multiple techniques, including smooth wall rendering, textured wall rendering, and colored wall rendering, each offering distinct visual outcomes and protective qualities.
Tools and Materials You’ll Need
To start, ensure you have all essential wall rendering tools and materials:
Required tools include:
- Rendering trowel
- Straight edge
- Mixing bucket
- Spirit level
- Hawk board
- Optional: Wall rendering machine for large areas
Essential materials consist of:
- Cement and sand (or pre-mixed render)
- Lime or acrylic for flexibility
- Water and mixing agents
- Primer or bonding agent
- Waterproofing additive for longevity
You can also find convenient rendering a wall kits or source individual wall rendering supplies depending on your budget and scope of work.
The Rendering Workflow
- Surface Cleaning
Begin by cleaning the wall to eliminate debris, dust, or peeling paint. A clean surface ensures strong adhesion and reduces the risk of cracks later. - Apply Bonding Agent
Use a suitable primer or bonding agent to prepare the surface for render application. - Mix Your Render
Combine cement, sand, and lime (if using) in the correct ratio. Maintain a smooth, workable consistency, especially for smooth wall rendering applications. - Apply Base Coat
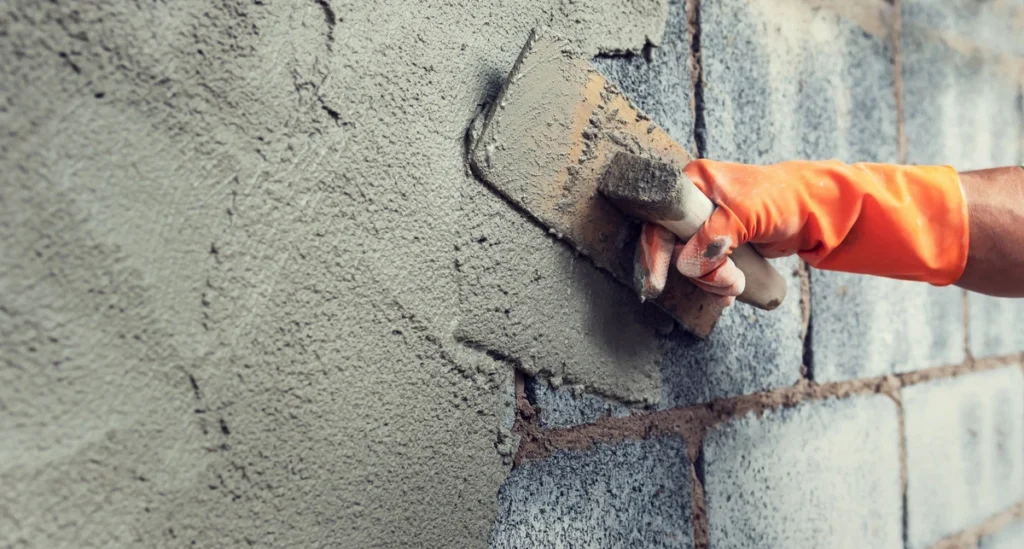
Spread the base layer using your rendering trowel and level it with a straight edge. Let it set partially before applying the final finish. - Finish with Texture or Color
Depending on your chosen style, use sponges, brushes, or rollers to create a textured wall rendering or smooth aesthetic. For colored wall rendering, integrate pigments directly into the mix for long-term color. - Curing the Surface
Mist the rendered surface with water daily for up to a week. Proper curing increases the render’s lifespan and strength.
Interior vs Exterior Rendering Applications
Interior rendering a wall is typically used in bathrooms, kitchens, or decorative feature walls. It improves resistance to moisture and creates a polished aesthetic.
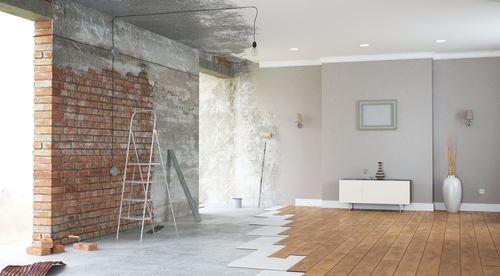
Exterior rendering a wall serves as a shield against rain, UV rays, and wind. Commonly used on garage walls, basement walls, and garden walls, this technique is key to structural longevity. Many homeowners also explore living room wall rendering for architectural character.
The choice between interior or exterior rendering depends on environmental conditions, visual goals, and overall home design.
Estimating Rendering Costs and Planning the Budget
Wall rendering cost varies by location, materials, and project size. Here’s what you can expect:
- DIY projects: $5–$10 per square meter for materials
- Professional jobs: $30–$60 per square meter
To minimize expenses:
- Select affordable rendering options
- Use multi-purpose tools
- Buy bulk wall rendering supplies for savings
- Consider a wall rendering kit to avoid missed items
For those new to the process, rendering a wall for beginners resources can be valuable when estimating cost and time.
Choosing Finishes and Visual Designs
There’s no shortage of rendering a wall styles for every architectural preference:
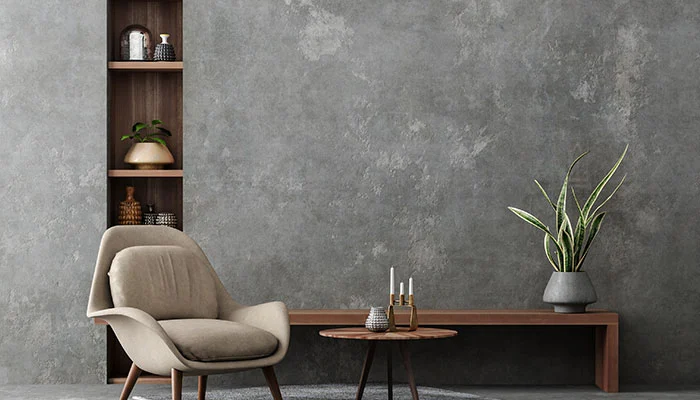
- Smooth wall rendering delivers a crisp, modern look
- Textured wall rendering adds depth, ideal for rustic themes
- Colored wall rendering integrates permanent hues into the mix
- Modern wall rendering designs combine various materials and finishes
When cured, render can also be coated with breathable masonry paint. Explore wall rendering paint options for enhanced protection and customized color schemes.
Common Pitfalls and Expert Advice
Novices often make critical mistakes that affect durability or visual quality. Avoid the following issues:
- Ignoring surface prep
- Using incorrect ratios in the mix
- Applying layers too thickly
- Rushing the curing process
- Failing to use appropriate wall rendering tools
Following a well-structured guide and taking your time ensures professional results. Look for updated DIY wall rendering tutorials to build confidence.
Advances in Digital Wall Rendering
Modern architecture embraces rendering a wall software to simulate finishes digitally before physical application. Programs like SketchUp, AutoCAD, or Revit allow for precise 3D wall rendering, making planning more accurate.
These platforms help visualize wall rendering design ideas with real-world lighting and color options. They’re frequently used by designers to demonstrate concepts to clients before construction begins.
Final Thoughts
Rendering a wall is a transformative and protective technique suitable for both residential and commercial properties. By understanding the wall rendering process, preparing with the right tools and materials, and applying the render using proper methods, even beginners can achieve a professional outcome.
From interior to exterior wall rendering, the design possibilities are endless. Choose the right texture, color, and finish based on your home’s architecture. With the right knowledge, rendering adds both value and beauty to your space.
Clarifying Common Questions
What’s the most durable rendering material?
Silicone-based renders provide excellent durability and resistance to water and algae.
Can I render over painted surfaces?
Only if the paint is stable. In most cases, removing old paint is recommended for strong adhesion.
Do I need special tools for textured rendering?
Yes. Sponges, stipple brushes, and rollers are common choices for creating textured effects.
How long should rendered walls cure before painting?
Typically 4–6 weeks, depending on the weather and render type.
Is rendering better than cladding?
Both have merits. Wall rendering offers flexibility in style and better insulation in some cases.

Melissa Day is a dedicated home blogger who has been blogging for over six years. She covers everything home related. Melissa also loves writing posts about her travels to Europe with her husband and two children.

