Stick on wall tiles have revolutionized DIY home makeovers. Whether you’re upgrading a backsplash or refreshing a bathroom wall, peel and stick wall tiles provide a simple, stylish, and cost-effective solution—without the need for messy grout or professional installation. Peel and stick backsplash tiles are waterproof, renter-friendly, and available in stunning designs like subway, marble, and mosaic patterns.
Content
What Are Stick On Wall Tiles?
Stick on wall tiles, also called self adhesive wall tiles or peel and stick backsplash tiles, are lightweight tiles backed with adhesive that allows easy installation on clean, flat surfaces. These tiles mimic the look of ceramic, stone, or glass but without requiring mortar or grout. Popular materials include vinyl, PVC, gel, and stone composites—perfect for hassle-free upgrades in kitchens, bathrooms, and laundry rooms.
Benefits of Peel and Stick Wall Tiles
The rise in popularity of peel and stick wall tiles is no surprise. Their benefits make them ideal for beginners and pros alike.
- Quick DIY installation – No special tools needed
- Renter-friendly – Removable with minimal damage
- Affordable – A budget-friendly alternative to traditional tiles
- Stylish variety – From peel and stick subway tile to modern mosaic looks
In humid or wet environments, waterproof peel and stick tiles ensure long-lasting durability without cracking or warping.
Where Can You Use Stick On Wall Tiles?
Peel and stick backsplash tiles are versatile and work in nearly every room.
- Kitchens – Ideal behind stoves and sinks
- Bathrooms – Adds waterproof style to walls and vanity backsplashes
- Laundry rooms – Create easy-to-clean, moisture-resistant walls
- Accent walls – Elevate bedrooms or entryways with bold designs
Many choose peel and stick bathroom wall tiles for their moisture protection and seamless look in tight spaces.
Popular Styles and Finishes
No matter your decor theme, there’s a stick-on tile to match it. Some of the top styles include:
- Peel and Stick Subway Tile – Clean lines, modern vibes
- Peel and Stick Marble Tile – Elegant and luxurious appearance
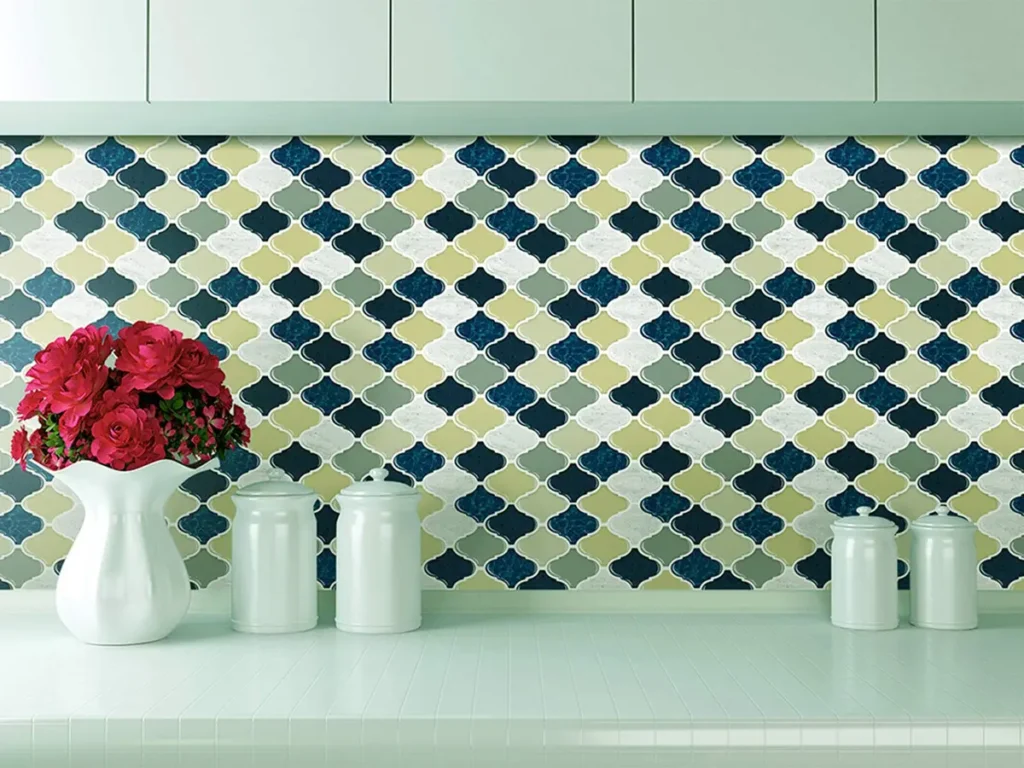
- Peel and Stick Mosaic Tile – Great for adding visual texture
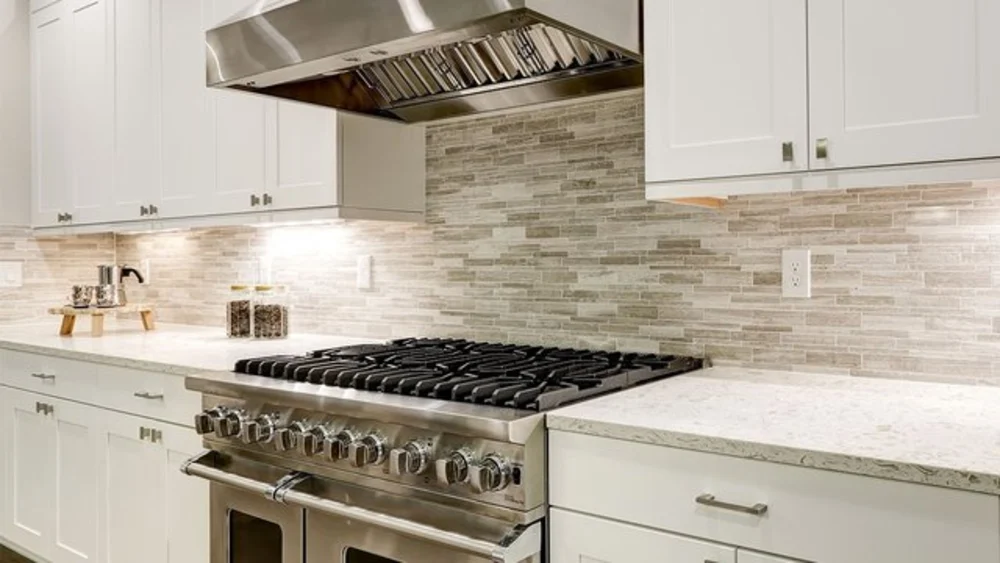
- Faux Stone & Brick – Perfect for rustic or industrial aesthetics
These designs offer flexibility, whether you want subtle sophistication or a bold statement wall.
How to Install Peel and Stick Wall Tiles
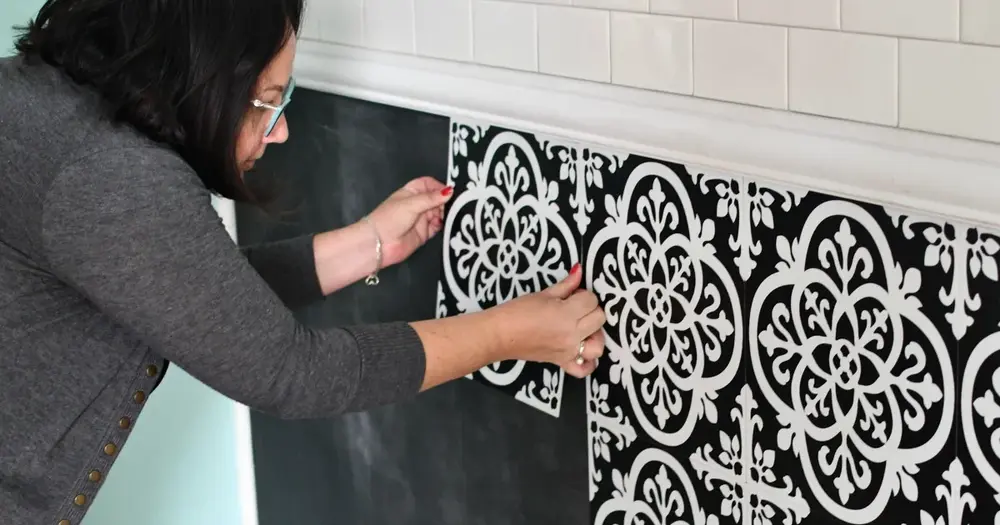
Installing peel and stick wall tiles is a breeze with a few basic tools and prep.
- Clean the wall surface – Remove grease, dust, and moisture
- Plan your layout – Dry-fit tiles before removing backing
- Cut to fit – Use scissors or a utility knife for corners
- Peel and apply – Remove backing and press tile into place
- Smooth out air bubbles – Use a squeegee or cloth
Even beginners can master peel and stick wall tile installation in an afternoon!
Peel and Stick Backsplash Ideas
Need inspiration? These peel and stick backsplash ideas will spark creativity:
- Classic white subway tiles in a modern kitchen
- Peel and stick marble tile behind a minimalist vanity
- Mosaic tiles for a vibrant laundry room upgrade
- Chevron patterns to create a dynamic accent wall
Mix materials and colors to reflect your personal style and give your space a custom look.
Cost and Affordability
Peel and stick backsplash cost varies by brand and material but is generally far less than traditional tiling.
- Average range: $5–$10 per square foot
- Traditional ceramic tile: $15–$30 per square foot (including installation)
Besides material costs, you save big on labor and tools. That makes stick on wall tiles one of the most cost-effective DIY solutions for home updates.
Pros and Cons of Peel and Stick Tiles
Understanding the pros and cons of peel and stick backsplash tiles helps in making informed choices.
Pros:
- Easy installation and removal
- Budget-friendly
- No mess or drying time
- Wide range of design options
Cons:
- Not ideal for textured or uneven surfaces
- Some tiles may not adhere well in extreme heat
- May not last as long as permanent ceramic tiles
Still, for most users, the peel and stick backsplash durability holds up well in everyday use.
Maintenance and Durability Tips
Keeping your peel and stick backsplash looking fresh is simple with regular care:
- Wipe spills with a damp cloth
- Use mild soap for grease-prone areas
- Avoid scrubbing with abrasive materials
- For kitchens, choose peel and stick backsplash heat resistant materials
- In bathrooms, opt for peel and stick backsplash humidity resistant tiles
With proper maintenance, these tiles can stay vibrant for 3–5 years or more.
Best Peel and Stick Tile Brands
Quality matters when selecting peel and stick wall tiles. Top-rated brands include:
- Smart Tiles – Excellent adhesion, wide range of finishes
- Art3d – Known for premium peel and stick mosaic tile
- Room Mates Decor – Affordable and renter-friendly
- Tic Tac Tiles – Stylish, heat- and humidity-resistant options
These brands offer reliability, design, and durability, making them ideal for kitchens and bathrooms.
Conclusion
Stick on wall tiles offer a stylish, budget-friendly, and mess-free solution for transforming any space. Whether you’re drawn to peel and stick subway tile for your kitchen or a mosaic look for the bathroom, these tiles provide an easy DIY opportunity without the commitment of traditional tile. With their durability, design flexibility, and simple installation, peel and stick backsplash tiles are a go-to upgrade for renters, homeowners, and design lovers alike.
FAQs
Do peel and stick wall tiles damage paint?
Most peel and stick wall tiles can be removed without damaging properly painted surfaces, especially if applied to smooth, primed walls.
How long do stick on wall tiles last?
With proper installation and maintenance, stick on wall tiles can last between 3 to 5 years, sometimes longer in low-moisture areas.
Can you put peel and stick tiles in the bathroom?
Yes! Use peel and stick bathroom wall tiles made for high-humidity areas to avoid adhesion issues.
Are peel and stick tiles heat resistant?
Many brands offer peel and stick backsplash heat resistant products. Always check manufacturer guidelines for use near stoves.

Melissa Day is a dedicated home blogger who has been blogging for over six years. She covers everything home related. Melissa also loves writing posts about her travels to Europe with her husband and two children.


